installing
The software is easy to install.
Just start your device (TV,Tablet, Tv Box) and search for “EyeCharts” in the App Store.
To install on Microsoft Windows PC click here.
To install on Samsung Smart TV click here.
To install on LG smart TV click here.
To install on Android devices click here.
To install on Amazon Fire TV devices click here.
controls
Check how to use EyeCharts controls
Remote Control, Keyboard, Mini-Keyboard
EyeCharts is compatible with any kind of keyboard controllers (standard keyboards, wifi keyboards, mini-keyboards).
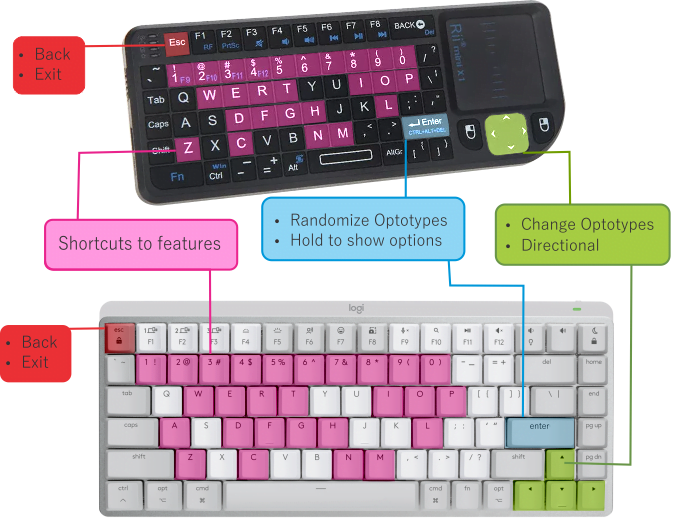
Letter Shortcuts:
Number Shortcuts:
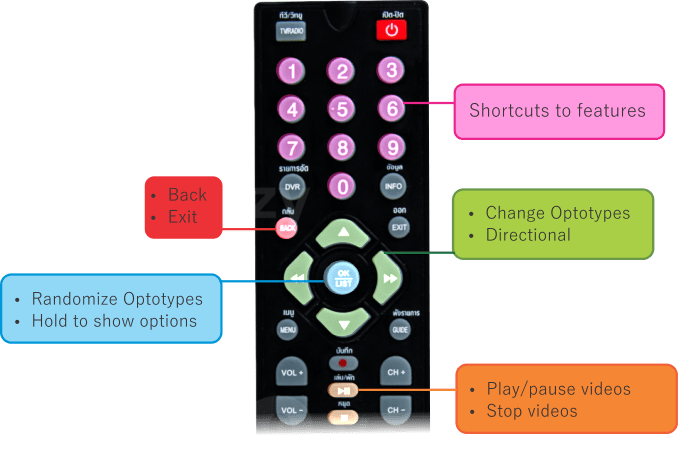
EyeCharts works with any kind of remote controls of compatible devices:
TV Remote control (slim):
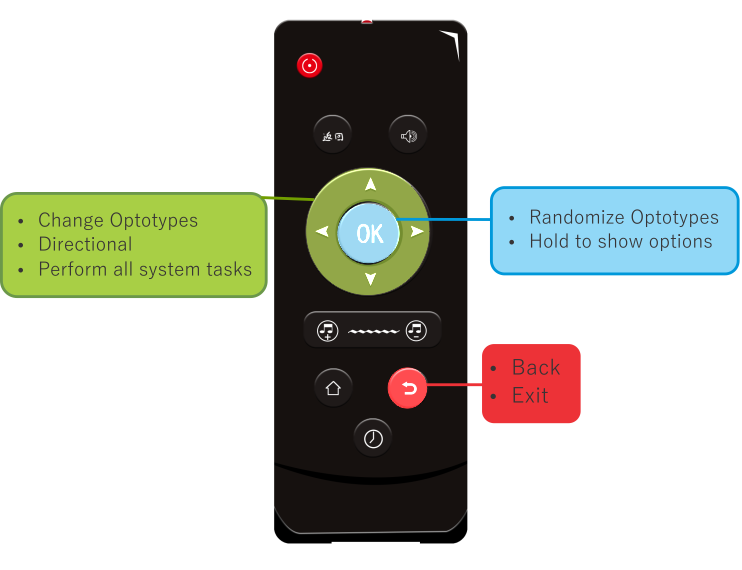
TV Remote control (standard):
Configuring
The eyecharts set up.
How to configure to your needs?
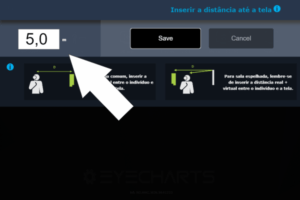
Measure the distance between the patient’s eyes and the screen.
Measure the distance between the patient’s eyes and the screen. Note: if you use a mirrored room you should enter the full distance (screen to mirror plus mirror to eyes)
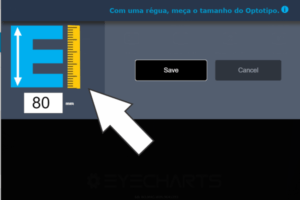
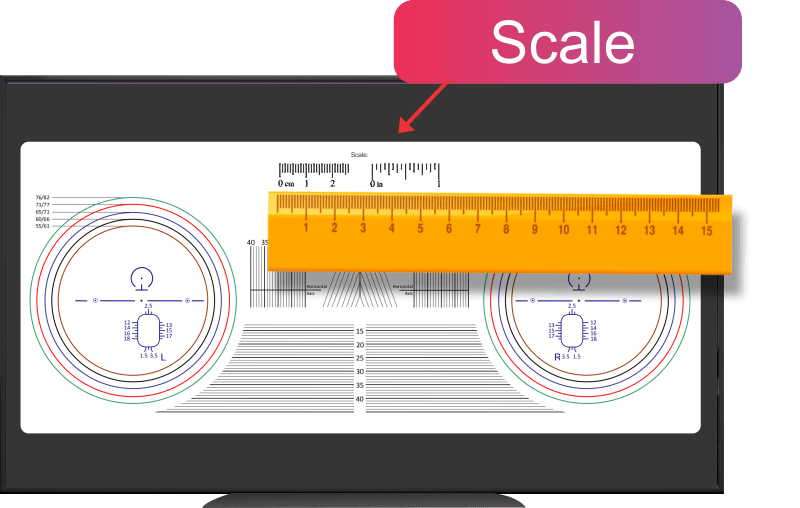
To configure the screen resolution, use a ruller to measure the blue optotype that shows in the screen.
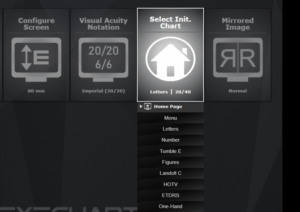
Here you can select the starting chart. You can also select the starting visual acuity.
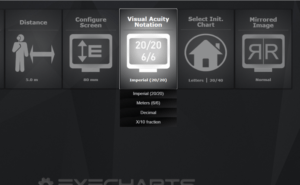
Choose your preferred visual acuity notation: imperial, meters, decimal or x/10 fraction.
They will be set to preferred visual acuity units every time you run EyeCharts.
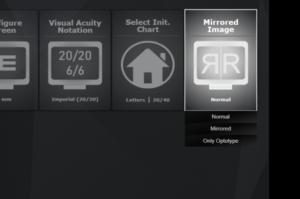
You can change the settings to mirrored offices. You can chose to mirror all the pages or only the optotypes.
Note: if you use a mirrored room you should enter the full distance (screen to mirror plus mirror to eyes) in distance settings.
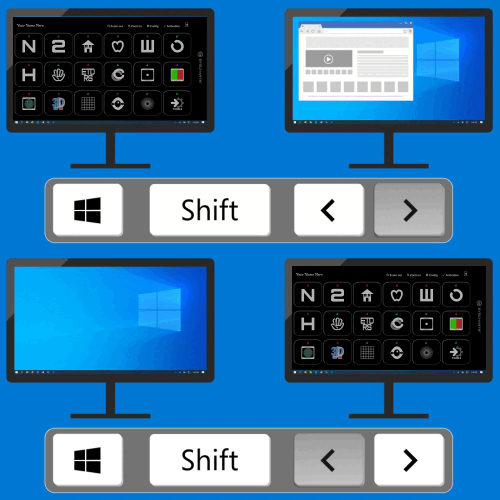
to switch between multiple monitors is to use hotkeys that move your active window from one screen to another. The default hotkeys for this are Win+Shift+Left arrow and Win+Shift+Right arrow, which move your window to the left or right monitor, respectively.
Note: This function is only applicable to Windows systems.
Operating
In this section you will learn…
How to operate the EyeCharts Visual Acuity System
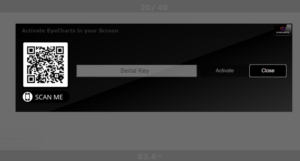
When in activation menu, just read the QR code and you will be transferred to EyeCharts system shop page.
After you complete the premium version purchase, your License code will be sent instantly to your e-mail. You can also check your licenses in your Account page:
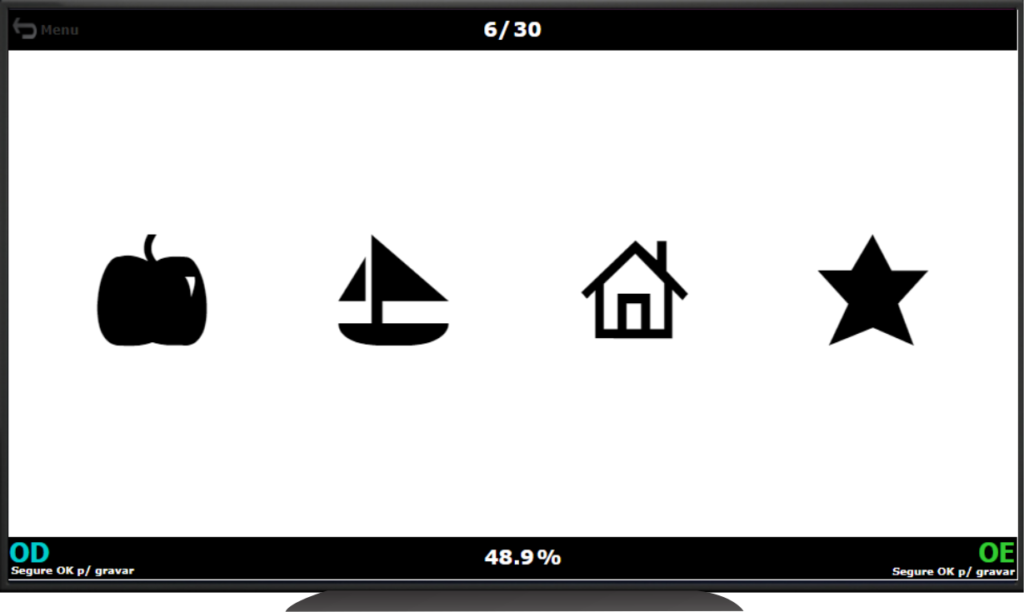
Use arrows to control the optotypes sizes.
Use the OK/Enter button to change the optotypes.
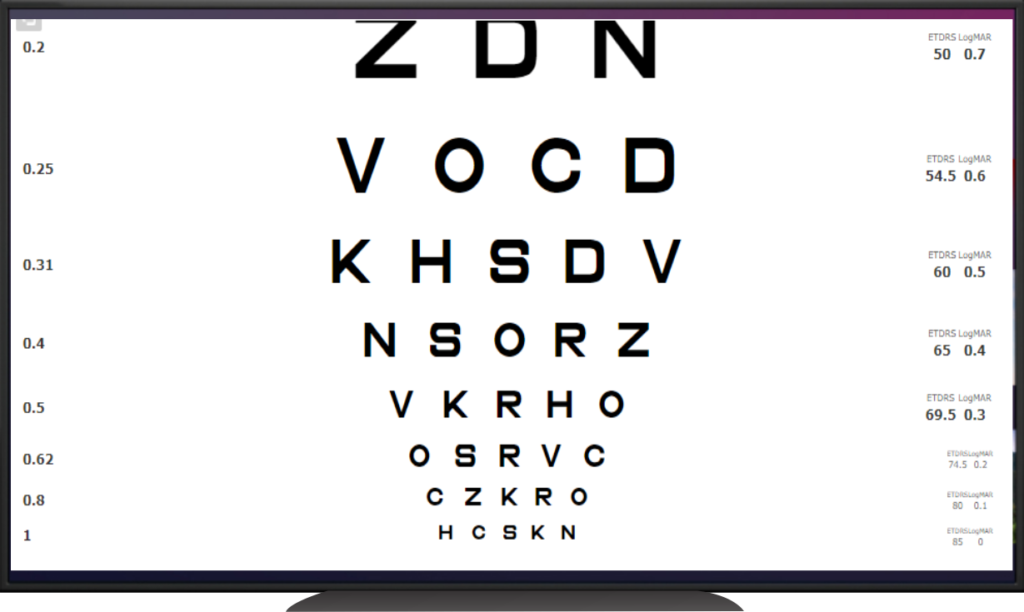
Use arrows to Focus the optotypes.

Use the OK/Enter button to change the optotypes.

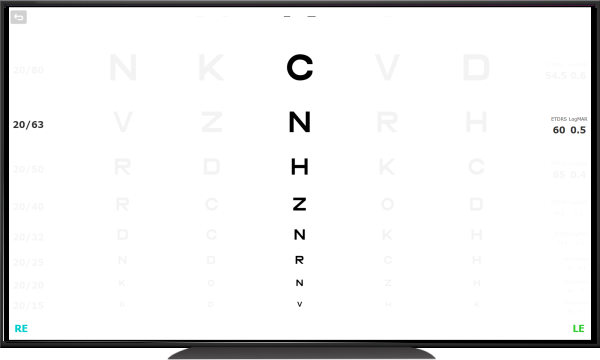
You can also convert to columns usign rigtht and left arrows.
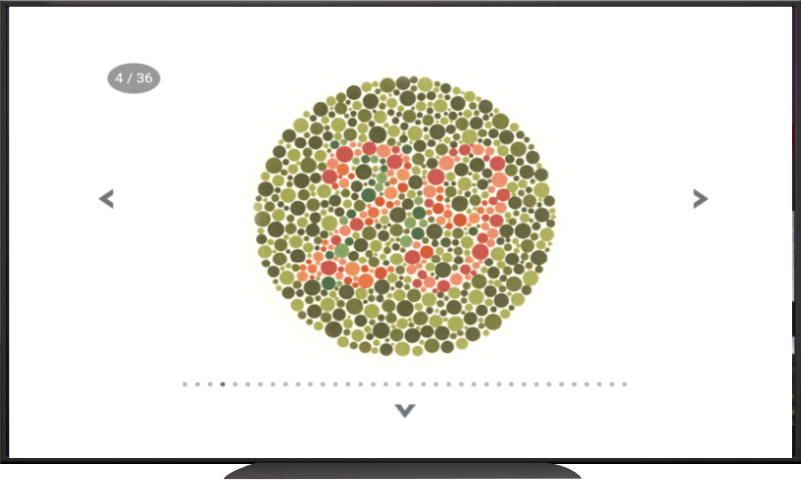
Use arrows LEFT and RIGHT to control the plate of Ishihara test.

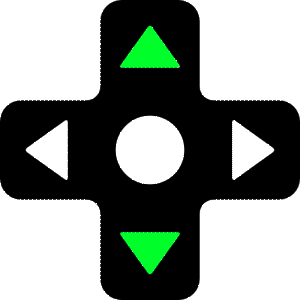
Us arrows UP and Down to Show or Hide the result of Ishihara test.
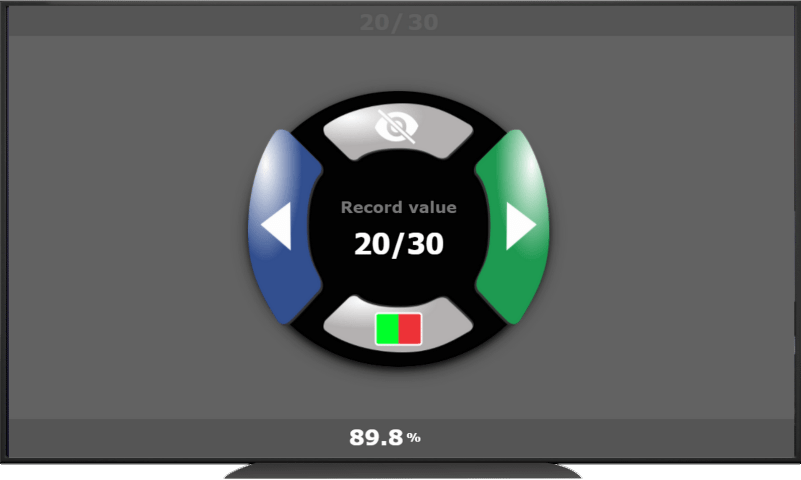
To record the Visual Acuty just HOLD OK/Enter button to show the options.

Then click left arrow to record to Left Eye or Right arrow to record to Right Eye.

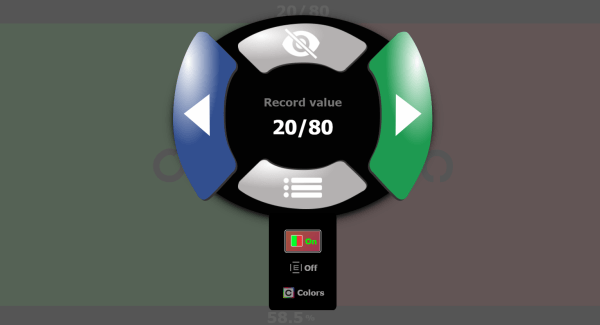
On the optotypes page, just HOLD the OK/Enter button to show options.

Then set the Red-Green Test options to ON.

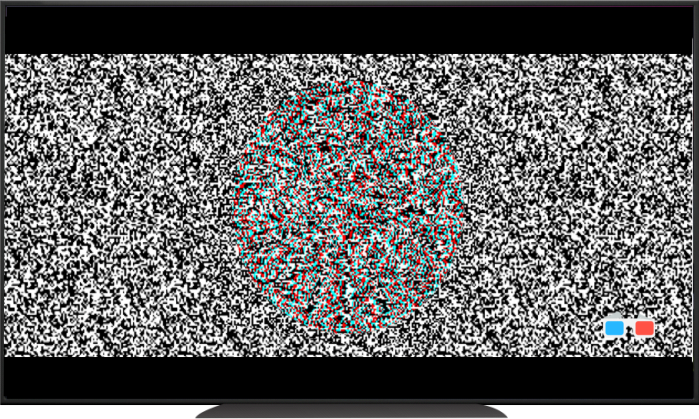
Use blue-red eyeglass to test the depth perception test. When depth perception is present, the individual will see a 3D wheel as an object jumping off the screen.
You can change to green-red eyeglasses using the arrows


Use horizontal arrows to increas/decrease size of the target


